How to Build a Carport & Maintain It - The Durabak DIY Guide
If you are tired of scratches, dents, and rust ruining the finish on your car, RV or boat, a carport is a great way to protect your vehicle from the elements.

What is a carport?
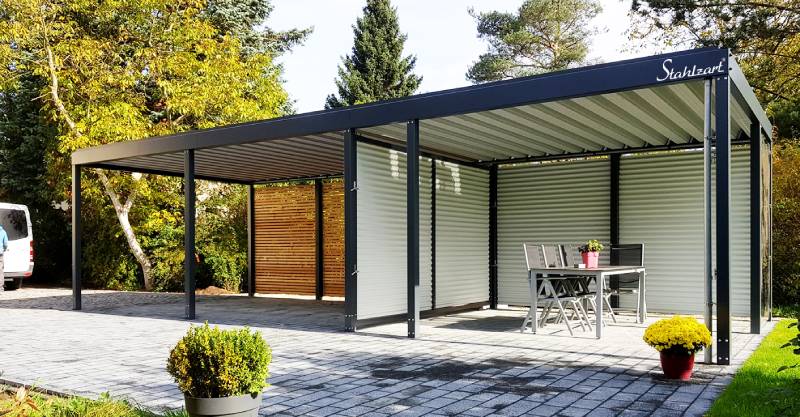
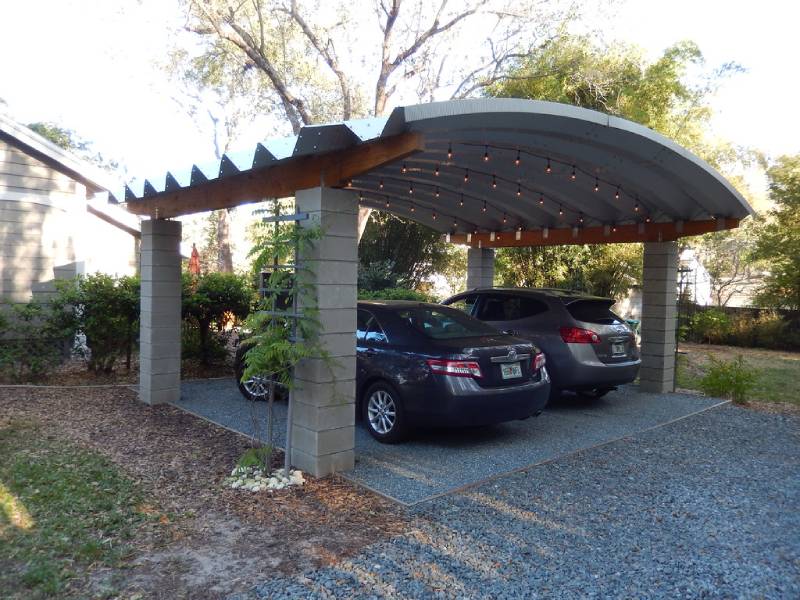
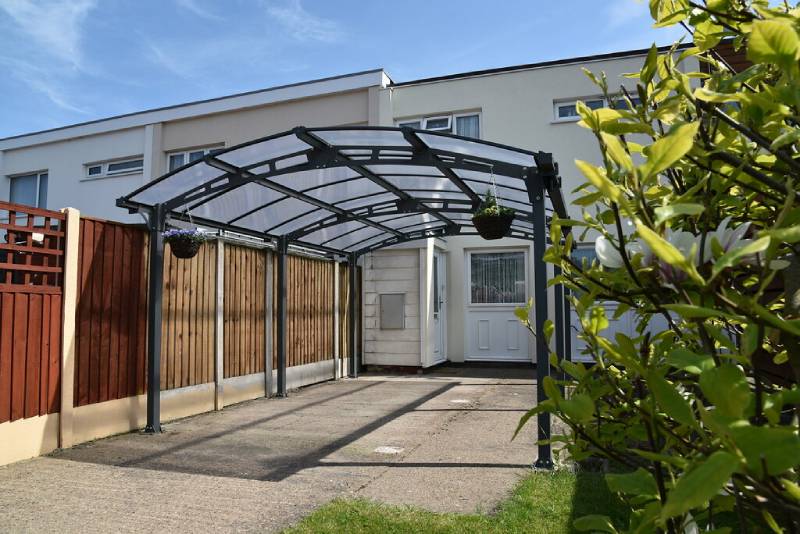
A carport is an open-sided covered structure that provides protection for your car when your home does not have a garage to accommodate your vehicle. It typically consists of a carport canopy and posts stabilized by a wall of your home. However, you can also find freestanding units.
While you can create a portable carport using a pergola or tent, these options only offer limited protection from the elements. They also do not preserve the ground underneath the car from oil leaks.
Modern metal carports are often made from galvanized aluminum and tubular steel for better durability and corrosion resistance. You can also add carport covers to enclose the sides of the unit for added protection if you live in an area with extreme weather.
Why are carports so popular?
Carports are an affordable alternative to a garage for storing your car. If left out on the wind, rain, and snow, motor vehicles can develop rust and structural damage; a carport prolongs the life of your car and protects your investment.
Carports are also less prone to clutter and can be built to accommodate a wider range of vehicles including an RV, camper, or boat. The open structure also offers better ventilation than a traditional garage, making it a suitable long-term storage option for vehicles and items prone to mildew and moisture damage.
A pre-fabricated carport kit is quick and easy to build, making it a great DIY project for the home handyman.
DIY: how to build a carport yourself

Step 1: Determine which type of carport you need
Before you start building a carport, you need to determine the size and type of shelter you need for your vehicle.
Take into account the number and dimensions of your vehicles, the type of weather protection needed, how the carport coordinates with your home, and your level of building expertise.
A wooden carport built from pressure-treated lumber is more durable and long-lasting than a metal carport. However, this is primarily suited to drier climates and it may need frequent maintenance and sealant application to protect it from snow and heavy rain.
A galvanized aluminum carport is quick and easy to install, and more affordable than their wooden counterparts. These carports are often recommended for DIYers looking for a simple project.
Step 2: Prepare the site
Measure and mark the site for your carport with mason’s string, removing any grass, and leveling the soil and tamping down to create a solid level area to support the slab. If your soil is very loose or uneven, you may need to add a sub-base of gravel.
A carport to accommodate an average-sized car should be approximately 16’ x 9’. If you require space for additional or oversized vehicles, adjust your measurements accordingly.
Step 3: Lay the slab
Create the formwork for the slab using 2’ x 4’ timber cut to the correct dimensions to suit your carport, pegged around the exterior for support, and lay the rebar mesh to minimize shifting. Level and float the slab as you pour the concrete to achieve an even, professional finish. Texturize the slab with a stiff broom and apply a concrete sealant to help set and cure the concrete.
The concrete should dry within a few hours (depending on the brand), but you need to leave it to cure for 28 days.
Step 4: Apply Durabak
Durabak is a polyurethane paint that gives the concrete slab a protective coating that is weather-proof, makes cleaning oil leaks easier, and creates a longer-lasting carport. The compound adheres mechanically to the concrete and creates a flexible layer that won’t crack or peel, even if the slab shifts over time. You can also apply Durabak to your RV as a liner to protect the finish on your home-away-from-home.
To apply Durabak, clean the cured, texturized concrete with a citrus-based cleaner and rinse thoroughly with clean water, then wipe with Xylene or Solvide and allow it to dry completely.
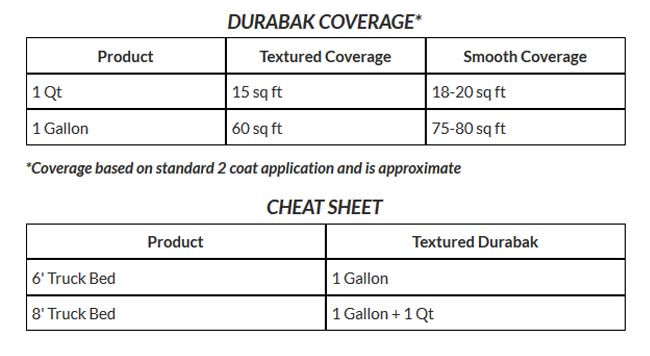
Open a fresh can of Durabak and stir to achieve an even consistency. Pour a small amount on a roller tray and apply evenly to a stipple roller sleeve. Roll on a first coat using short, even strokes. Keep the lid on the can of Durabak and remember to agitate the product in the roller tray frequently because Durabak dries quickly.
Apply a second coat of Durabak after the first coat is dry to the touch. This usually takes between 1-2 hours. It will be completely dry within 24 hours but wait approximately 5 days for the coating to cure before building the carport structure.
Step 5: Construct the pre-fabricated carport kit
Each carport manufacturer will have specific instructions for assembling your carport. Follow these closely to ensure your carport is structurally stable and built to last.
Most pre-fab kits can be built with just a power drill and the included components.
Begin by attaching the rib assemblies for the front, back, and middle sections, then attach the section to the base frame. Anchor the frame in the slab using concrete anchor bolts. Connect the roof panels and trim around the edges, as well as the rain gutter if it is included in the kit.
Carport FAQs
How easy is it to build a carport myself?
Assembling a pre-fabricated DIY carport is as simple as following the manufacturer’s instructions and using the right tools. An experienced handyman could even lay the concrete foundation, however, you should leave any electrical and plumbing work to professional contractors.
With Durabak, putting the finishing touches on your carport is an easy afternoon project, and once applied the protective polyurethane coating lasts for years with heavy-duty use so there is no need to reapply.
How much does it cost to build a carport?
According to Home Advisor, an average carport costs around $6,500 to build. There are a variety of factors that contribute to the overall cost of construction including site preparation, laying concrete, permit fees, carport dimensions, and finishing touches such as paint.
Do I need a permit to build a carport?
Almost any addition to your home, including a carport, requires an application for a building permit. A building permit ensures that your carport adheres to local building codes and zoning laws.
However, the rules and regulations for building a carport differ from state to state, and even within counties, so it is important to contact your local government agency to determine whether you need a permit before you start construction.
How tall does an RV carport need to be?
As RV heights vary, the correct height for RV carports varies as well. An RV has a legal road height limit of 13’ 6” and must be no wider than 8’ 6”. Your carport should be built high enough to allow for at least 3 feet of clearance above the top surface of the RV.

Final word
If you need extra space to store your car, boat or RV, a carport is an inexpensive choice that you can quickly and easily build yourself. A Durabak coating on your carport will ensure your shelter can withstand the elements and provide long-lasting protection for your vehicles.
We carry a wide range of colors and textures that you can choose from. Call us today at (303) 690-7190 to speak with our experienced staff about how you can use Durabak around your home and to protect and renew your vehicles.
Image Credit:
https://upload.wikimedia.org/wikipedia/commons/3/3e/Design_Rows_Carport.jpg
https://live.staticflickr.com/925/42548394165_c341d50e22_b.jpg
https://live.staticflickr.com/5556/30529618654_6fedce2c6e_b.jpg

